如何将附加卡 (AIC) 固态硬盘 (SSD) 连接到系统
总结
这些说明可帮助用户安装 Solidigm 附加卡 (AIC) 固态硬盘 (SSD)。它们是通用的,有关更详细的说明,请参阅您的系统/机箱手册。
迄今为止,Solidigm™ 尚未发布 AIC SSD,英特尔自 750(客户端)或 P4618(数据中心)以来尚未发布 NAND SSD。 SK海力士收购了英特尔的NAND和SSD业务,并于2020年创建了Solidigm。
分辨率
在安装之前,请注意安全并了解 SDD 的最佳位置。
初步
谨慎!
|
|
|---|
- 您的主板可能有多个 PCIe*(外围组件互连快速)插槽。
- 大多数 Solidigm AIC 都需要 PCIe* x4 连接器。
- 建议使用最靠近 CPU 的连接器以获得最佳性能。
- 如果使用独立 GPU 卡,则应位于最近的连接器中。
- 如果出现问题,则距离 CPU 最远的连接器可能更成功。
主板示例:
| 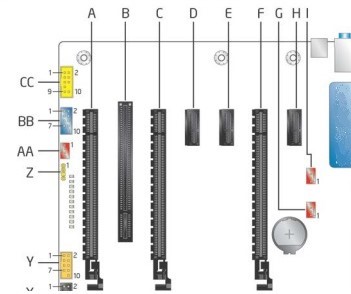 |
安装
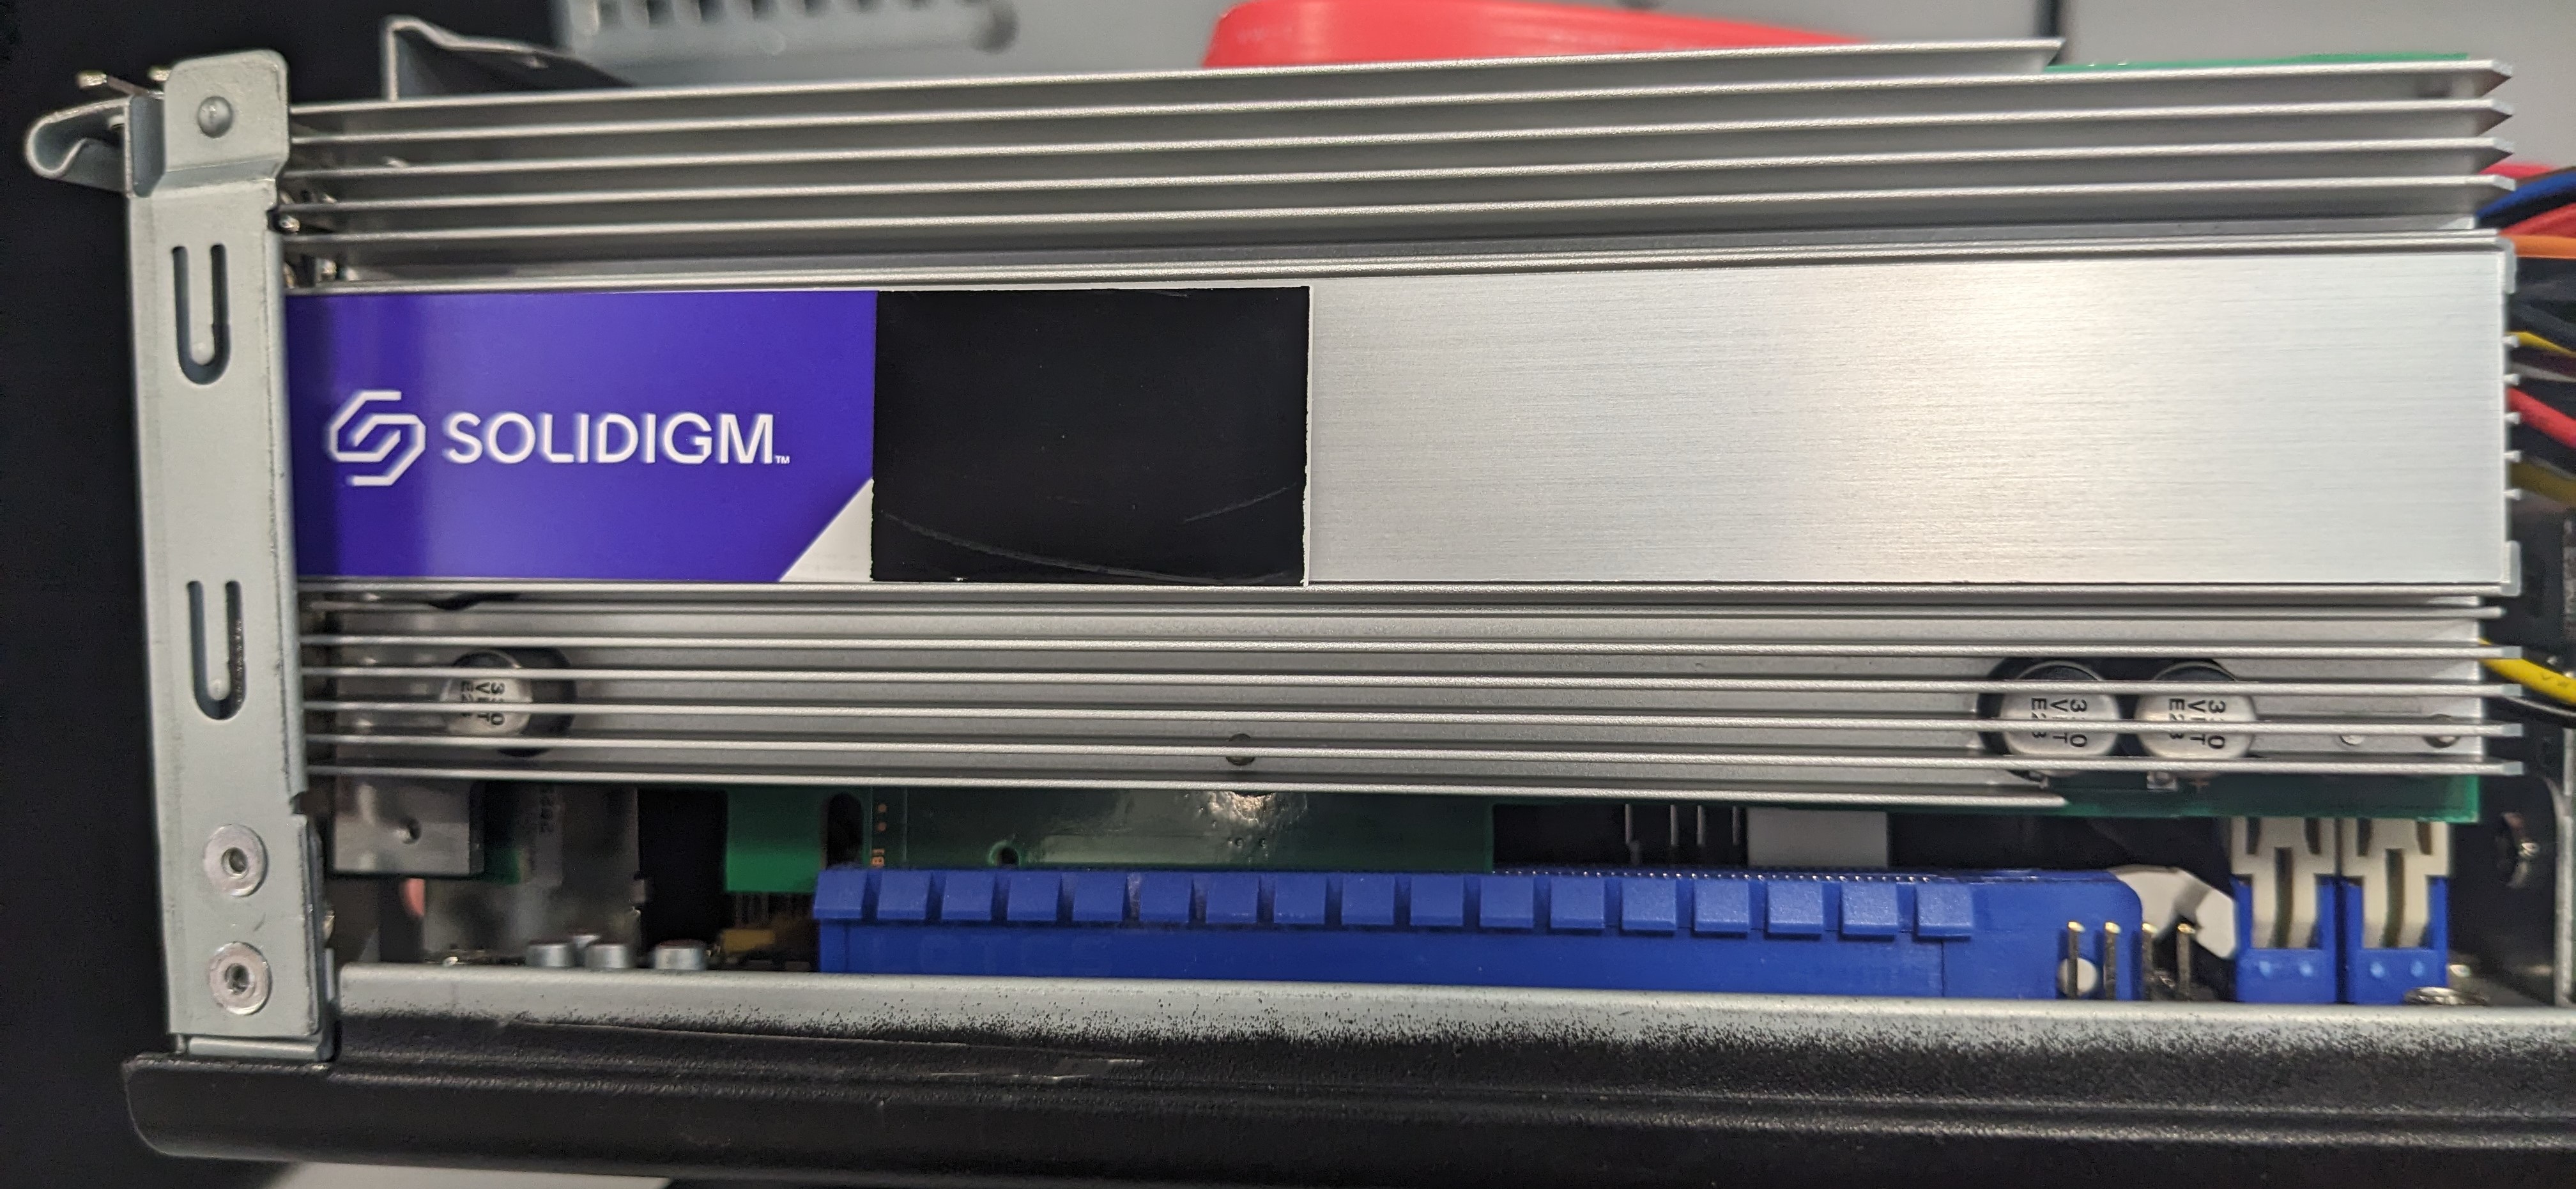
|
图片仅供参考。驱动器不存在。 |
问题? 查看我们的社区 论坛 寻求帮助。
问题? 联系 Solidigm™ 客户支持:
[中文][简体中文][德语][日语][韩语]
成功